Localhost Refused to Connect Error: 5 Confirmed Ways to Fix It
Site Audit Issues
.png)
Content:
- What Is the Localhost Refused to Connect Error?
- 5 Methods to Solve the Localhost Refused to Connect Error
- How To Fix The “Page Has Link with a URL Referencing LocalHost or 127.0.0.1” With Netpeak Spider?
- Conclusion
“Localhost refused to connect,” or the ERR_Connection_Refused error is one of the most common network connection errors. Developers use localhost to test websites and programs which are under development outside of the live website.
When you face the “Localhost refused to connect” error, you can’t connect to the local host in a local environment. Let’s review the main causes of these issues and the best ways to solve them.
What Is the Localhost Refused to Connect Error?
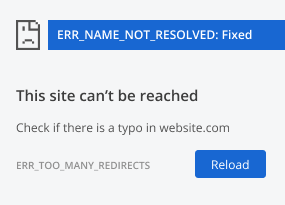
The "Local host connection refused" error is a message you might encounter when attempting to access a web page or application hosted on your local server. Essentially, it means that the browser is unable to establish a connection with the server running on your machine. This error can manifest in various ways, such as "ERR_CONNECTION_REFUSED" in Google Chrome or "Unable to connect" in Firefox.
Here are the main causes of such 127.0 0.1 refused to connect error:
- Server Not Running
One of the most common reasons for this error is that the local server is not running. Ensure that your server is up and properly configured before trying other methods. Check the server logs for any errors or issues that might be preventing it from accepting connections.
- Incorrect Port or URL
If you’ve entered the wrong port or URL into your browser, it may also lead to a localhost refusing to connect error. Ensure that you are using the correct address, including the port number, to access your local server. Typos or discrepancies in the URL can lead to err_connection_refused localhost.
- Firewall or Security Software
Firewalls and security software on your machine might block the connection to the local host and lead to a “Localhost refused connection.” Check your firewall settings and make sure they allow connections on the specified port. You may need to create an exception for your local server to avoid interference.
- Inadequate Permissions
Insufficient permissions for the server process can also result in connection refusal and “Localhost not working.” Ensure that the server has the necessary rights to bind to the specified port and access the required files or directories.
5 Methods to Solve the Localhost Refused to Connect Error
Here are five solutions that will help you fix the “Localhost refused connection.”
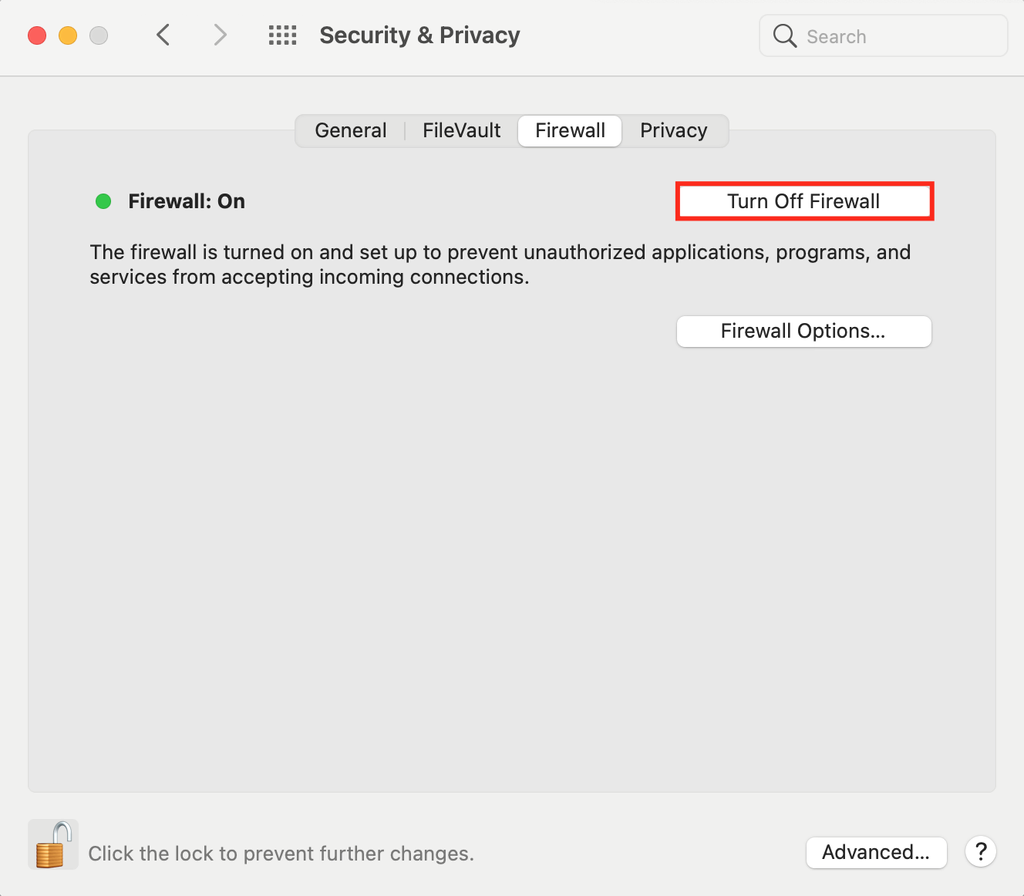
1. Temporarily Disable Your Firewall
Review your firewall or security software settings and make sure they allow traffic on the specified port. Temporarily disable your firewall and create an exception for your local server to prevent the firewall from blocking the connection.
2. Flush Your DNS
DNS cache stores the records from the websites you visit, so their loading speed will be faster when you access them next time. Sometimes, your DNS may be overloaded with various records, causing connection refusal and localhost not loading. Try to erase the records and flush your DNS to make it work properly.
3. Check Your Port and URL
Verify that you are using the correct port and URL. Double-check for typos and ensure consistency between the address you are trying to access and the configuration of your server. The default port number for the web server is 80; however, sometimes, it may be used by another application on your computer, so you need to check if it’s free. Here’s how to do this to fix connection refused localhost.
- Locate the configuration files for your local server. Common configurations are found in files like httpd.conf for Apache or nginx.conf for Nginx.
- Open the configuration file using a text editor.
- Look for the section specifying the port on which the server is listening. It's usually set with the Listen directive in Apache or listen in Nginx.
- 4. Ensure that the port specified is the one you are trying to access.
- Open the terminal or command prompt.
- Use a command like netstat (on Windows) or lsof (on Unix-based systems) to check which ports are in use.
- Replace "8080" with the actual port number.

4. Ensure Apache Is Running
Local host not opening? Check if your Apache is running properly. The command will vary depending on the distribution you use. Here’s how to check if Apache is running if you use Windows:
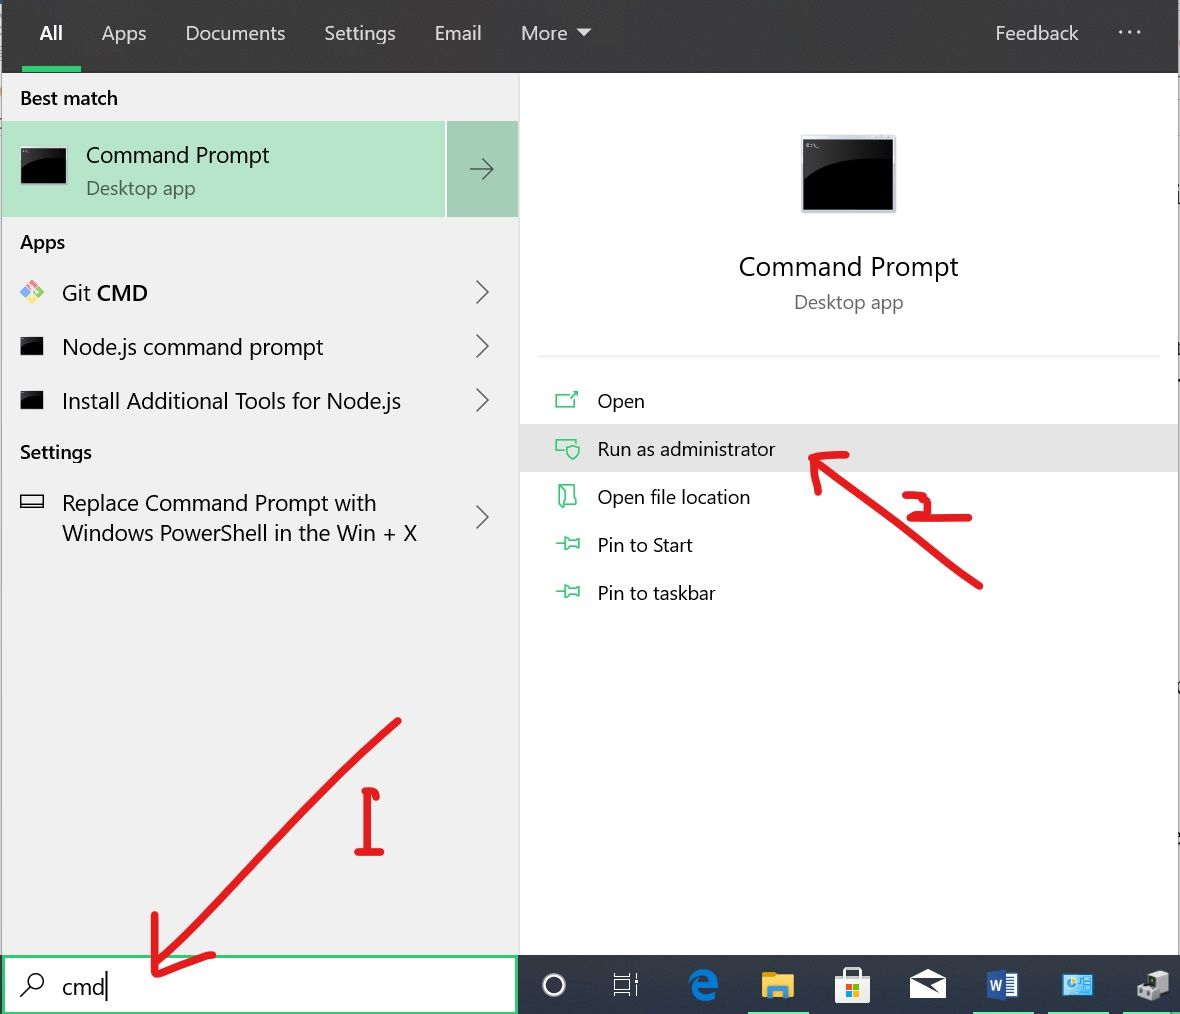
- Open the Command Prompt as an administrator.
- Press the Windows key + X and choose “Command Prompt (Admin)” or “PowerShell (Admin).”
- Run the following command to check the Apache service status:
Replace “Apache2.4” with the exact name of your Apache service if it's different. Look for the “STATE” line; if it says “RUNNING,” Apache is running.
Here’s what to do if you are a Linux/Unix user:
- Open a terminal.
- Run the following command to check the Apache service status:

If you're not using the system, you might need to use service or /etc/init.d/ scripts depending on your system. Look for lines indicating that the Apache service is active and running.
5. Check your browser settings
Unable to connect to localhost? Here’s how you can check your browser settings to troubleshoot: localhost refused to connect error.
- Open Google Chrome:
- Press Ctrl + Shift + Delete to open the "Clear browsing data" menu.
- Select "Cookies and other site data" and "Cached images and files."
- Click "Clear data."
- Disable Extensions:
- Open Google Chrome.
- Type chrome://extensions/ into the address bar and press Enter.
- Disable all extensions by toggling the switch next to each extension.
- Reset Browser Settings:
- Open Google Chrome.
- Type chrome://settings/ in the address bar and press Enter.
- Scroll down and click on "Advanced."
- Under "Reset and clean up," click "Restore settings to their original defaults."
- Click "Reset settings."
How To Fix The “Page Has Link with a URL Referencing LocalHost or 127.0.0.1” With Netpeak Spider?
With the help of Netpeak Spider, you can detect more than 50 types of issues with the following tags: error (critical issues), warning (important but not critical issues), notice (issues you should pay attention to). On the right side of the panel, you’ll get the list of all the issues found during the crawl and their description.

There’s also an option to choose only those parameters you want to analyze. In such a way, you’ll save resources and RAM consumption and get only the information you need.
Also, you can group data by any parameter in any table to get more detailed information about each parameter. For example, you can group the results by Status Code parameter and define which status code is more common for certain types of pages.

In addition, you can sort your data in different ways and choose how you want to handle it.
- One URL → select any cell and call any internal table – thus, you’ll get the data only for the selected URL;
- A group of URLs → choose several URLs (with the left mouse button or using the SHIFT/CTRL key) and call one of the internal tables – in this case, the data will be grouped for the selected URLs;
- All URLs in the current table → click the “Current Table Summary” button and choose any internal table; in this way, you’ll get the data for all the URLs in the table.
Finally, you can export your crawling data in different formats:
- Export to Excel
- Export to CSV if you’re working with a large amount of data
The exported file name is generated automatically, so you can see what table you worked in or what selection type you used in the internal tables right away.
Conclusion
The "Local Host doesn’t work" error can be a frustrating roadblock. However it’s easy to overcome if you have a clear understanding of its causes and the right steps to troubleshoot this issue. By checking server status, verifying ports and URLs, adjusting firewall settings, and managing permissions, you can ensure a smooth connection to your local server. Remember that regular crawling and troubleshooting will help you avoid common issues and make your website experience more user-friendly.